Translate this blog....

Showing posts with label African threading. Show all posts

Monday, February 22, 2021

I Tried African Threading on My Natural Hair (Part 2)

 Okay. folks. I lasted four and a half days. I took the threading out today because I had so much shea butter in that my head was just slick! LOL

So, I am going to do a wash and re-thread my hair tonight or tomorrow. This time, I am making a few changes:

  • I will NOT use nearly as much shea butter. I could barely pull my hair apart for all the shea.
  • I will steam my hair when I apply my leave-in moisturizers (prior to threading).
  • I am going to use 3 pieces of yarn for each threading. I learned this from a video. I can then thread all the way down the length of my hair and braid the ends of yarn. Last time I had exposed ends.
  • I am going to spray the yarn with moisturizer before or after threading. (When I did the takedown this time, I noticed that the shea had kept the yarn from drying out my hair. A LOT of shea was left in that yarn...)
  • I am going to attempt to be more uniform in the size of the threaded sections. Last time, I had some very large and very small sections. This made it a pain to scarf-wrap my hair every day. 
  • I'm also going to measure and pre-cut my yarn this time. Last time, I liked pulling strands from the ball and cutting but I had some uneven yarn pieces. I would rather have more yarn than having to tie on additional pieces when I run short.
All in all, though, I am pretty thrilled with the anti-shrinkage. I haven't seen my hair at this length since the last time I straightened with an electric appliance. And I didn't do any damage. Love that!

By the way, I found an old facial steamer I had gotten to review a few years ago. The nozzle sprays wide enough that I can get a wide reach. I had no idea how to use it for my hair until the past several weeks of reading up on using steam for hair care. I actually even have my AfroSheen Steam mask to use. We'll see how that goes. 


Here is a contrast of what my hair looked like before and after the 1st attempt (using a single wrap). Keep in mind that I have not washed out the clump of dried shea butter in the After photos...


This is what the nape/backside looked like.

That was a tricky mirror shot


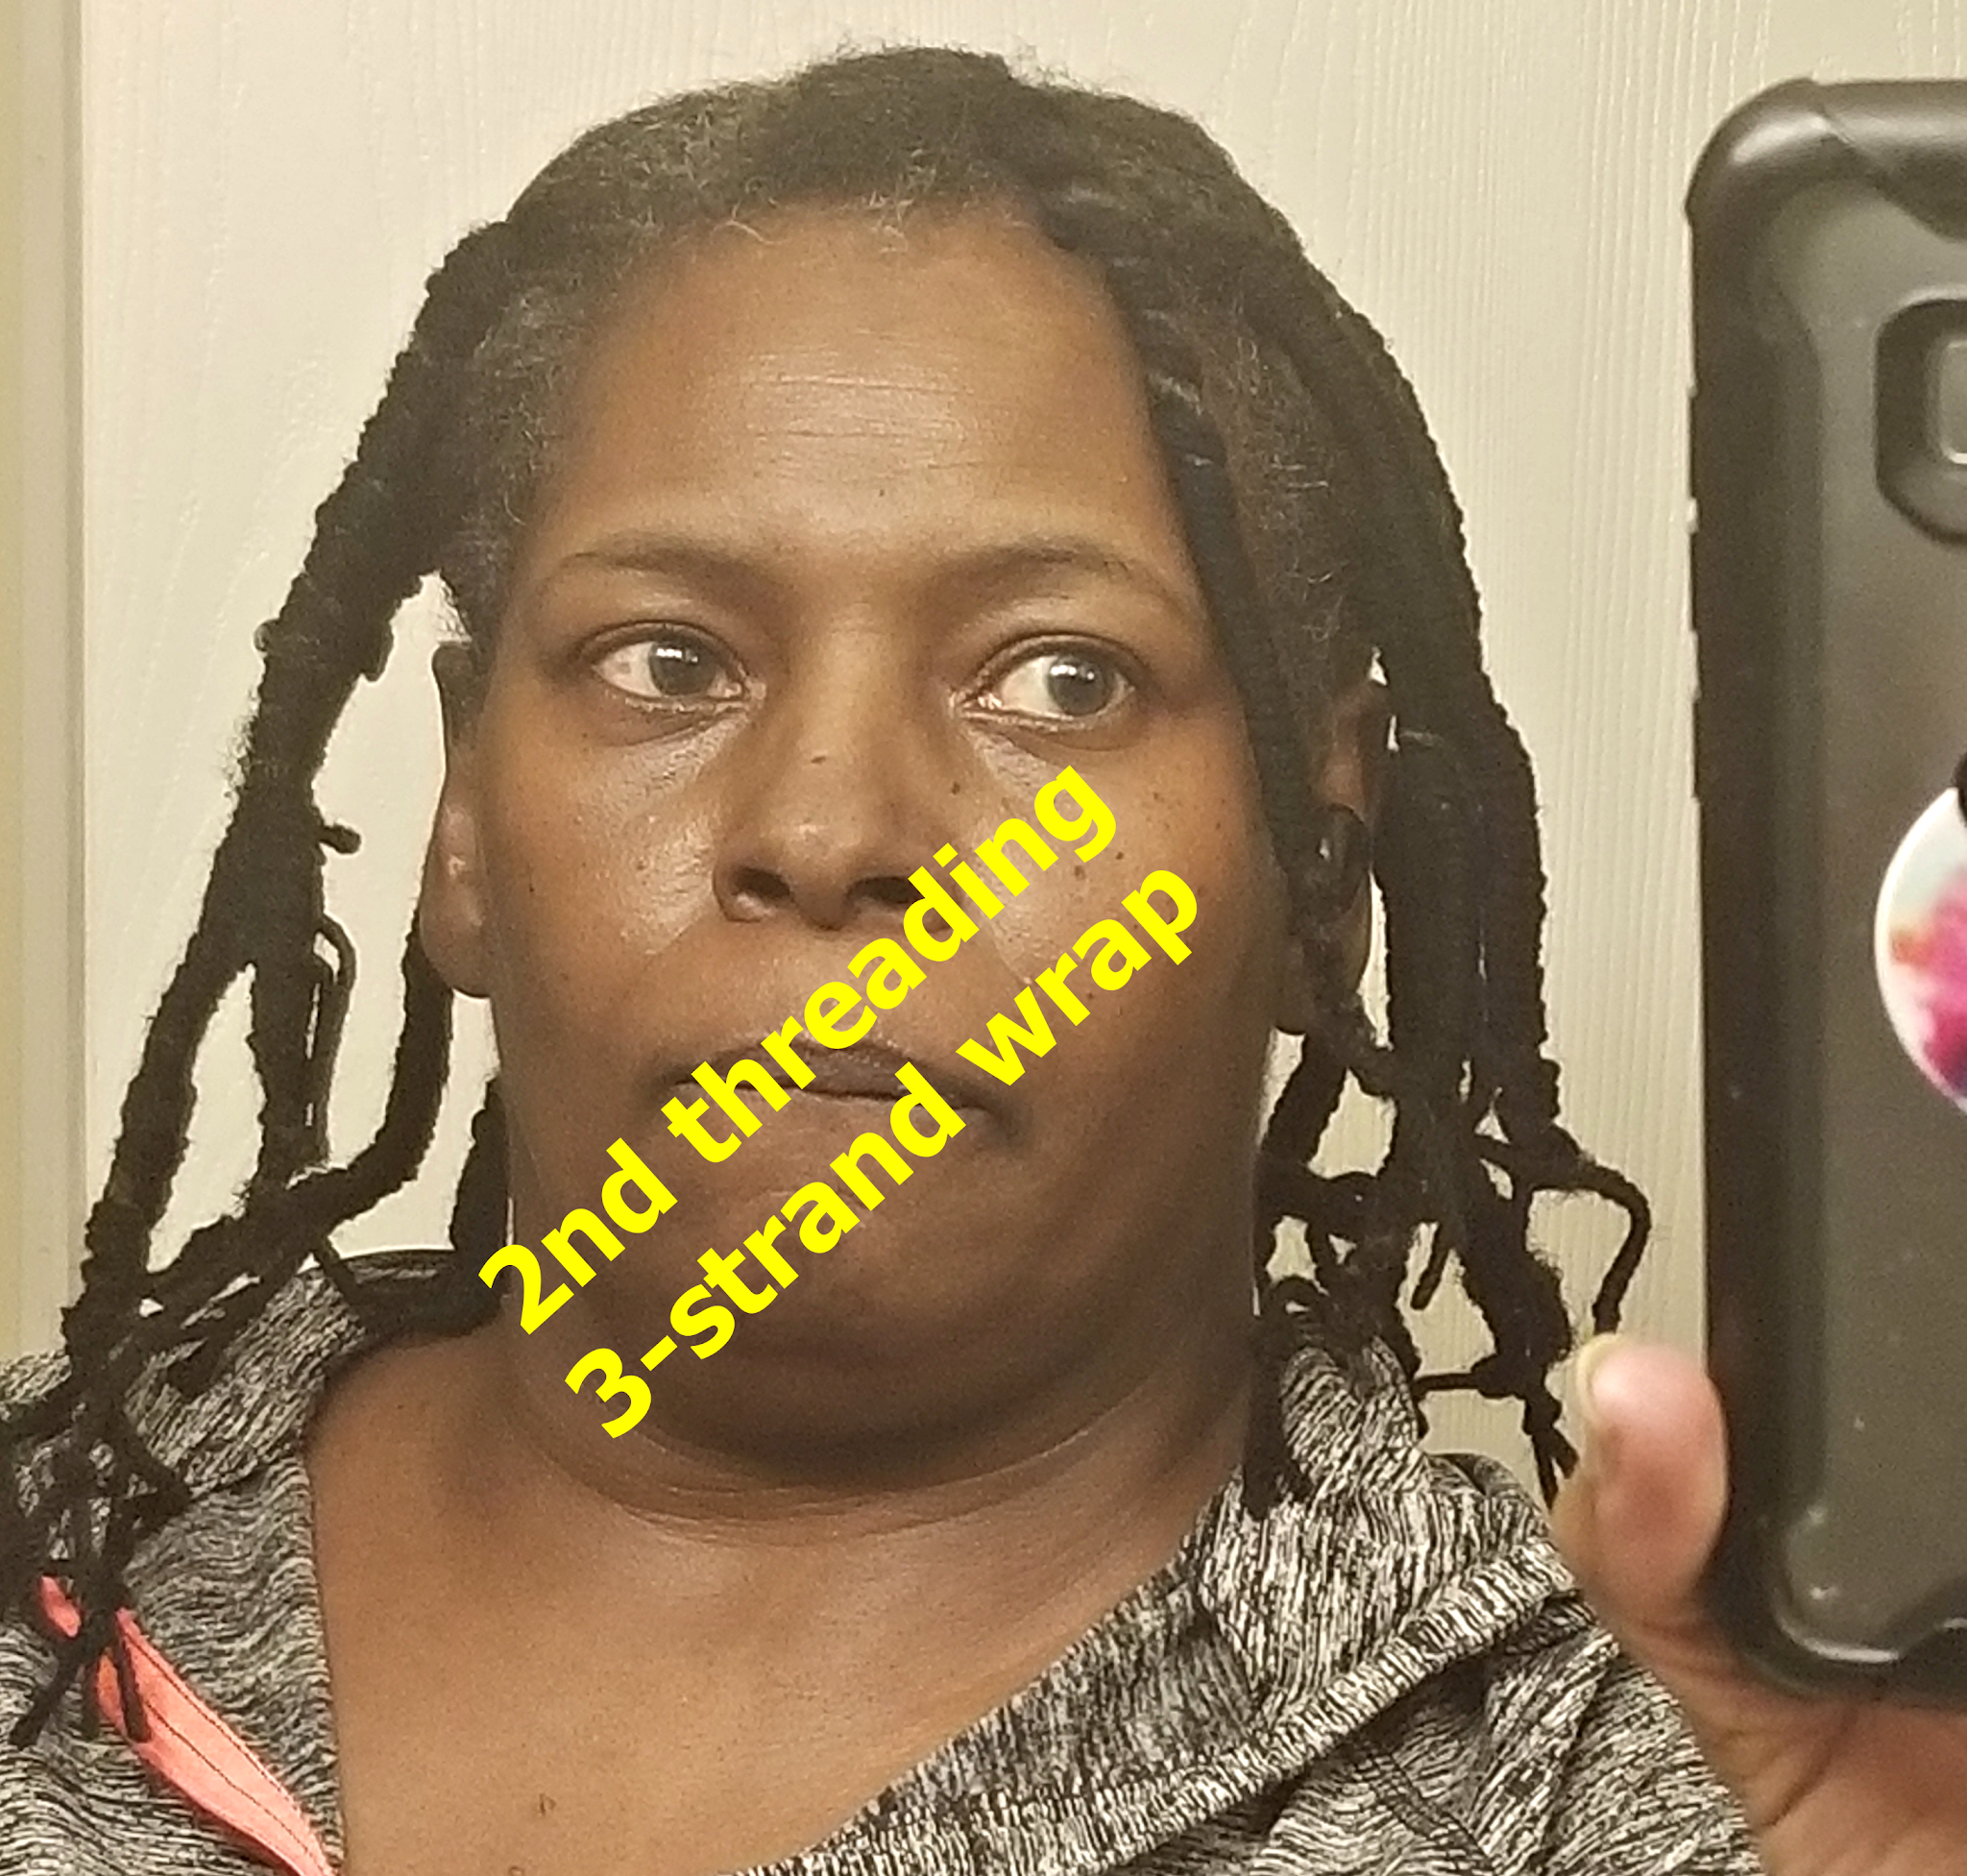
Now that I am finishing this post the day after I started all the above...

I did not end up moisturizing my yarn. I forgot. I did use 3 strands this time and that did make the ends easier to work with. I did go much lighter on shea. I used shea to seal my hair after washing but stuck to some lighter leave-in products for threading and am moisturizing my scalp daily with JBCO.


Even with this being my 2nd time, I still had problems starting at the root (without getting it too tight or too loose), and I can never judge the best measure of the yarn. I guess I will get better the more I thread.

For now, I am really pleased with this threading and I feel comfortable enough leaving it in for a week.  When I do the next takedown, I will just update this post with any news and photos.

Peace
--Free

Thursday, February 18, 2021

I Tried African Threading on My Natural Hair (Part 1)

 African threading is probably the most ingenious hair care technique known. And I am mad that I hadn't heard about it before a couple of weeks ago. I don't usually shout about it but some cultures just never get the credit they deserve.

Why is this not a bigger deal? I don't know. But let's talk about the genius of hair threading. First, some background. I tried to find some older resources but apparently, the threading trend wasn't hot online before 2010 (if my search results can be trusted).

This is what I did find and like, so I am sharing:

This video tutorial is the best one I have seen for learning how to do threading. (And, for some reason, I now think I might have seen this at some point in the past.)

Currently, there are a lot of videos and articles about threading - some that have been out long enough that I should have noticed before now. I have learned a lot about how to do it but the information sometimes conflicts on what threading material to use (yarn, rubberized thread, metal thread, etc.) or techniques for the ends (tuck and wrap or leave loose, etc.).  I like the idea of tucking the ends and was wrapping but it was tricky for me to do with yarn. I could do it with the rubber thread but... well, more on that in a moment.

I used that video tutorial (above) and some of the one in that linked history & tutorial  for general guides. However, I did end up trying different threading materials. The first was rubberized thread and did not work well with my very shea-moisturized hair! Here is my process for the 1st and 2nd attempts.


The Supplies I Used


Trying this for the first time & 
got it cheaper at Sally's


Okay Smooth All Natural,100% Pure
Unrefined Daily Skin Moisturizer

And for my scalp, my favorite JBCO
 (until I find something better-priced!)

"Bead String Rubber
Stretchy String Elastic String"


This is what my hair looked like (unstretched) before I did my first (successful) yarn-threading. It has been washed, deep-conditioned, sealed and moisturized.


This is what my first (and failed) attempt with the rubberized thread looked like:

No Bueno! Unh uh!
(but the ends are tucked)


I could not get my threading started closer to the root. Again, I think it's because my fingers were too slick with shea.
 
I removed the rubber thread the very next day, re-washed and conditioned my hair, and started over. This time I went with acrylic yarn. This is cheaper and much MUCH easier for me to use as an inexperienced threader.


This also took less time because I wasn't struggling (unsuccessfully) to keep the threading near the root.  
I did trim the yarn afterward

"Kizzy! Kizzy!!"

I think I did an okay job, I will need to learn to keep the gaps smaller and to get closer to the ends of the hair. The toughest thing will be learning to end up with something stylish enough to wear uncovered. In the meantime, I am wearing scarves. I usually wear these neck-gaiter-type scarves just because they are  a cute (and lazy) way to keep my head warm in the winter.


I can't wait to get through the next several days (5 or 7 is what I am shooting for) so that I can re-thread and see if I do a better job. I am pleased though. The one thing I worry about is that I used too much shea butter. It was literally oozing from between the threads when I finished wrapping my hair. I think it will dry down some though from being threaded and being tucked into a scarf. Plus, it is super arid here in the winter so...

By the way, the threading is not uncomfortable to sleep on. I sleep with the scarf on so that I can secure the threading in a suitable arrangement for laying on. 

I will do a Part 2 when I take down and re-thread my hair in - well, however many days I can last!

Peace
--Free


FYI: I linked to the gaiter scarves I use just because I love them so much. I don't get any compensation or affiliate credit. I bought them last year when they were about 10 bucks and, after many washing and almost daily wear, they are like new. I want to get more but I see the price has gone up. The price depends on the color/pattern you choose; I got the Dark Grey set of 6.